Feathers in Our Nest

a blog about faith, family, food, & more written by a wife and stay at home mom of five

  • Home
  • About
  • Recipes

DIY Fragrance Sticks {Using Your Favorite Essential Oils!}

May 29, 2015 by Aliesha

Make your own fragrance sticks (solid perfume) using your favorite essential oils or blends! Three simple ingredients and easy to make! | Feathers in Our Nest

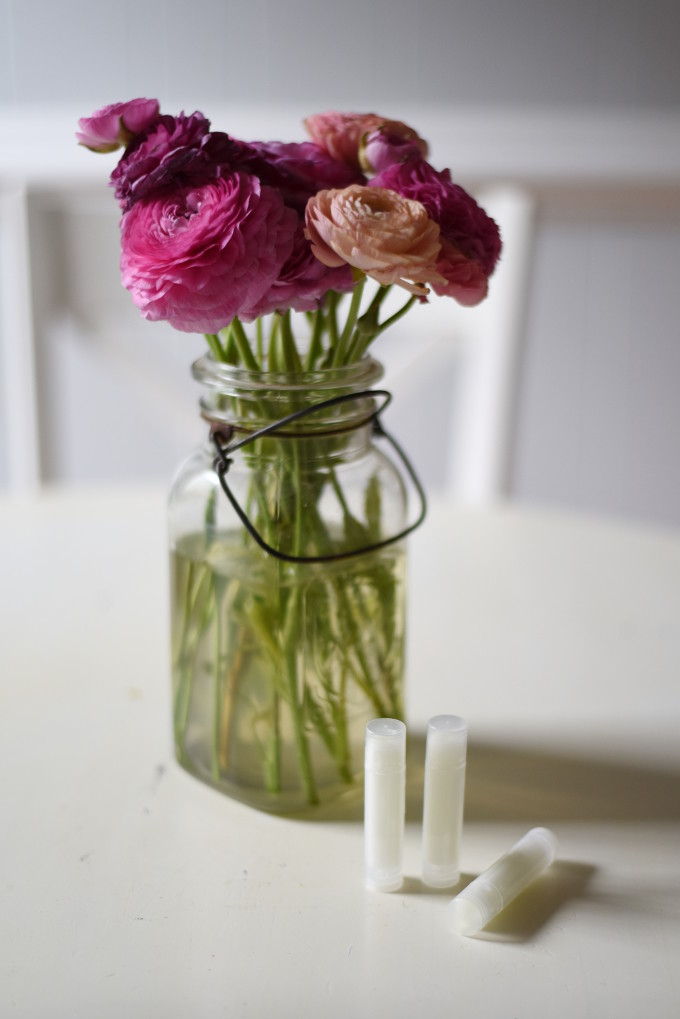
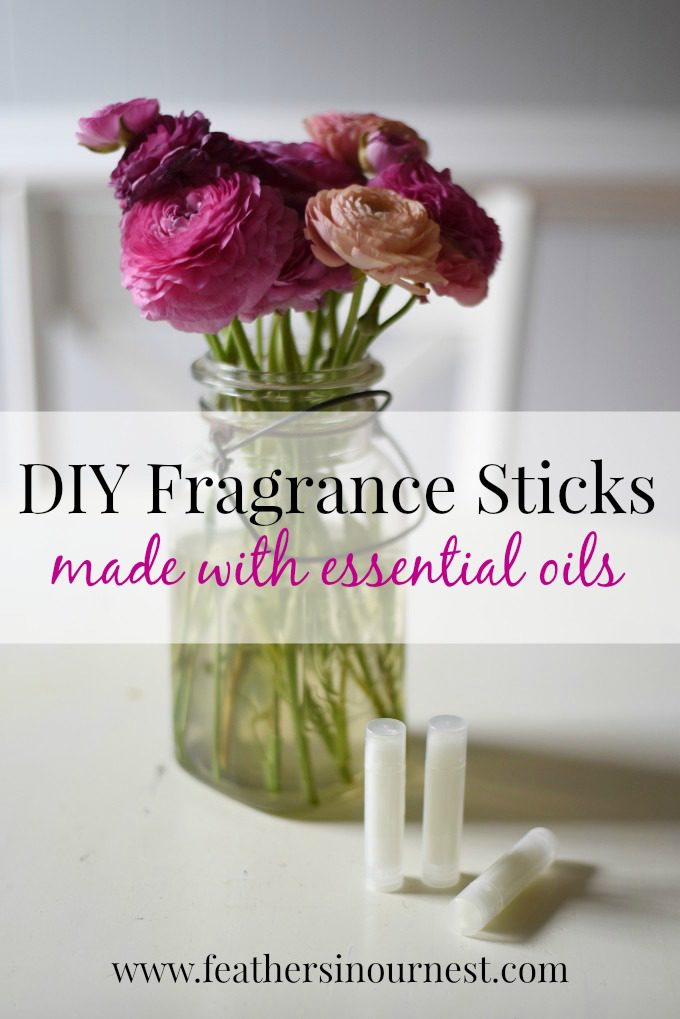
Today I wanted to share another fun way to use the essential oils you have in your “stash”!  Making personal fragrance sticks (or solid perfume, as some call it) couldn’t be easier.  Simply choose your favorite essential oil or a blend of oils and whip up these fragrance sticks in a few minutes!  While they look like lip balm, they are intended to be applied to your neck, wrists, or behind your ears as a light personal perfume.

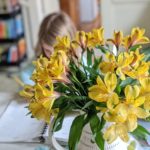
When I made these to give away as a gift, I used Blend of Jasmine for a pleasant floral scent.  You can use many different oils!  I recommend starting with an oil or blend that you love the fragrance of and have used topically before with no problems (skin irritation, etc.).

Here are a few suggestions:
–Bergamot
–Pink Grapefruit
–Lavender
–Blend of Jasmine
–Citrus Blend
–Blend of Vanilla
–Calming
–Citrus Passion
–Sonata
–Peace and Quiet

These make great little gifts (and you could plan ahead to make stocking stuffers!).  They are super cute to enclose with a birthday card.

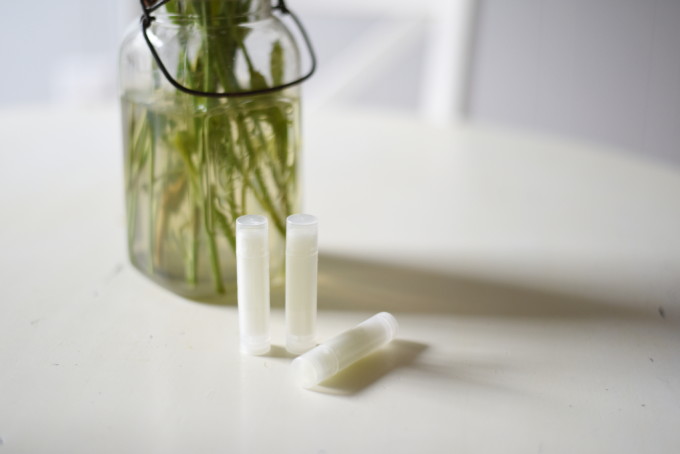
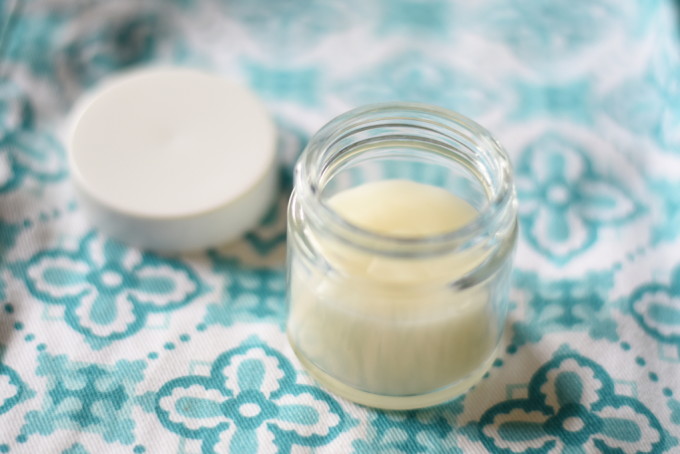
I used white beeswax when I made these, but if you use yellow beeswax (which is totally fine), the sticks will be a light yellow color.  You can also use sweet almond oil in place of the olive oil if you prefer.

This recipe yields 5 sticks, but you can easily double or triple the recipe to make more!

DIY Fragrance Sticks {Using Your Favorite Essential Oils!}
 
Print
Easily make these fragrance sticks so you can carry your personal perfume with you anywhere you go! Use your favorite essential oil or blend to customize it for you.
Author: Aliesha @ Feathers in Our Nest
Serves: 5 sticks
Ingredients
  • 1 Tbsp. olive oil
  • 1 Tbsp. + 1 tsp. beeswax pellets (white or yellow)
  • ¼ tsp. essential oil
Instructions
  1. Prepare empty lip balm containers by opening the lids and standing them on their ends. Group together and secure with a rubber band. (Alternatively, you can use tiny round tins.)
  2. Place olive oil and beeswax in a glass Pyrex measuring cup OR a mason jar and set it inside a saucepan on the stovetop filled with an inch or two of water. (The advantage of the measuring cup is the pouring spout!)
  3. Heat the saucepan over medium heat and stir the contents of the glass measuring cup or mason jar until melted and combined.
  4. Remove from heat and add essential oil(s).
  5. Immediately pour into empty tubes, working quickly as it will harden rapidly.
  6. Allow to cool, then label or package! (You don't want to get confused and think they are lip balms!)
3.3.3074

Sources: beeswax pellets  |  essential oils  |  lip balm tubes

Make your own fragrance sticks (solid perfume) using your favorite essential oils or blends! Three simple ingredients and easy to make! | Feathers in Our Nest

Let me know if you make these!  I’d love to hear what essential oils you use!

Make your own fragrance sticks (solid perfume) using your favorite essential oils or blends! Three simple ingredients and easy to make! | Feathers in Our Nest

Disclosure: Some of the links in this post are affiliate links.  If you choose to make a purchase through my links, it will help support this blog and my family. Thank you!

ALIESHA CALDWELL IS A PARTICIPANT IN THE AMAZON SERVICES LLC ASSOCIATES PROGRAM, AN AFFILIATE ADVERTISING PROGRAM DESIGNED TO PROVIDE A MEANS FOR SITES TO EARN ADVERTISING FEES BY ADVERTISING AND LINKING TO AMAZON.COM.

Filed Under: crafts, essential oils, gift ideas, health and beauty, projects

DIY Cuticle Cream

April 3, 2015 by Aliesha

DIY Cuticle Cream


Keeping your cuticles soft and healthy is key to healthy nails and nail growth!  This recipe for cuticle cream is nourishing to the cuticles and skin around them, plus the essential oil combination helps inhibit bacteria.  Remember, never cut your cuticles.  If you need to push them back, do so very gently with an orange stick.

This recipe will make two small jars (of size pictured) of cuticle cream.  These jars are glass, and you can find similar ones at craft stores and on Amazon (these are pretty cute).  You could also use little metal tins!

DIY Cuticle Cream
 
Print
Easy DIY Cuticle Cream is made with essential oils and nourishing beeswax! Makes a great little gift!
Author: Aliesha @ Feathers in Our Nest
Ingredients
  • 3 Tbsp. olive oil
  • 1 Tbsp. beeswax pellets
  • 6 drops tea tree essential oil (or melaleuca)
  • 6 drops lavender essential oil
Instructions
  1. Place a mason jar inside a small pot of water on the stove top.
  2. Place olive oil and beeswax inside the jar and heat over low/medium heat, stirring as needed until melted.
  3. Remove from heat and add tea tree oil and lavender oil. Stir.
  4. Pour into glass jars or metal tins and allow to cool before using.
3.2.2929

Sources:  beeswax pellets / tea tree oil / melaleuca oil / lavender oil

DIY Cuticle Cream


Disclosure: This post contains affiliate links to the essential oil company I use and love. If you choose to make a purchase through my links, it will help support my family and this blog. Thanks!

ALIESHA CALDWELL IS A PARTICIPANT IN THE AMAZON SERVICES LLC ASSOCIATES PROGRAM, AN AFFILIATE ADVERTISING PROGRAM DESIGNED TO PROVIDE A MEANS FOR SITES TO EARN ADVERTISING FEES BY ADVERTISING AND LINKING TO AMAZON.COM.

Filed Under: essential oils, gifts, health and beauty

How I Curl My Hair – Natural Beachy Waves (Irresistible Me Review)

March 26, 2015 by Aliesha

Disclosure: Irresistible Me provided me with the Sapphire Curling Wand in exchange for my completely honest review of the product. My opinions are 100% my own!

Curled-Beachy-Waves
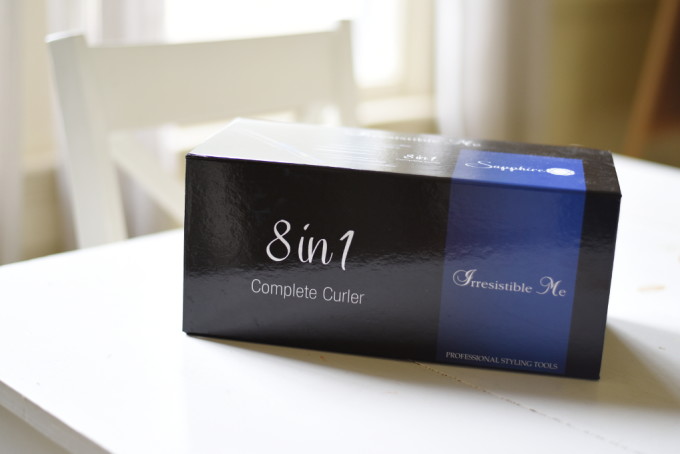
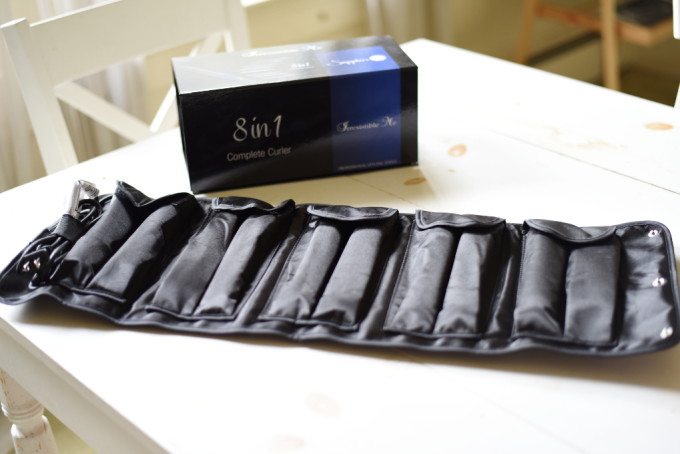
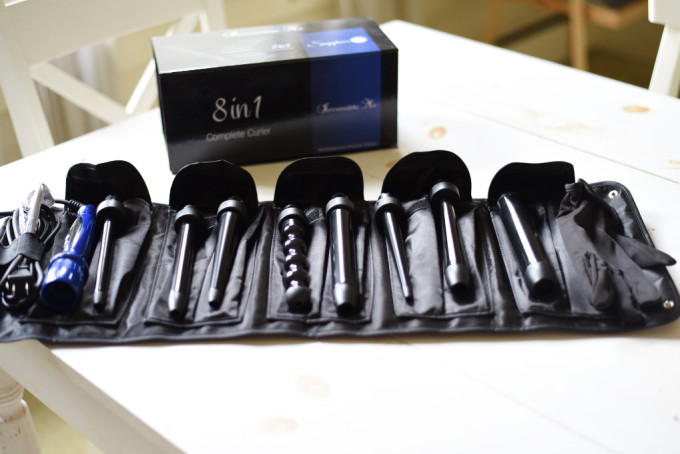
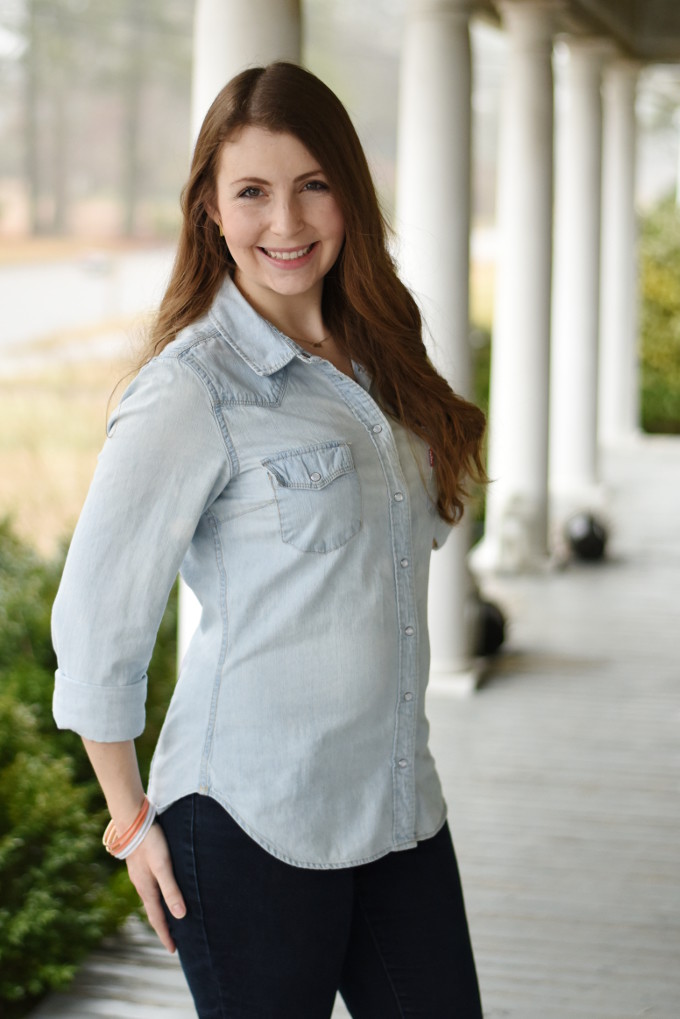
I have long hair, and as of late it had gotten quite difficult to curl.  Not that it wouldn’t hold curl, but the thought of spending foreeeever long curling my hair with my sub-par curling iron made me turn to my trusty sock bun instead!  When Irresistible Me reached out to me and asked if I wanted to review their Sapphire 8-in-1 Curling Wand, I jumped at the chance!DSC_0719copysm

At first I was a bit skeptical… could this wand really be as easy to use and as awesome as other reviews claimed?  Very quickly I realized YES!  I’ve had SO much fun “playing” with this curling wand and trying out the different attachments!DSC_0722copysm

The thing that makes the Sapphire Wand most unique is that it comes with eight attachments of varying size and shape.  I have my favorites, but it’s fun to have other options too!DSC_0723copysm

I love how the Sapphire Wand comes in a handy little black bag that keeps the base and all the attachments organized.  It’s great for travel or just everyday storage!

Each wand clicks and locks into place in the base without any trouble.  The locking mechanism assures me that the hot wand isn’t going anywhere!  When cool, the wand is easy to remove from the base for storage.

I love how hot this wand gets (up to 450 degrees) and how the temperature gauge tells you exactly what temp it is at currently.  The set includes a heat-resistant glove which makes styling safe and easy.DSC_0724copysm

As to performance, the Sapphire Curling Wand is exceptional!  My hair curls quickly and easily no matter which wand size I’m using.  My hair looks great even days after I’ve curled it (even on rainy days)!  Talk about bang for your buck!  I can curl my whole head (thick, long hair) in less than fifteen minutes, and even after sleeping on it, my hair still has beautiful, loose waves!

My one teeny tiny complaint about the wand is that there is no kickstand or way of keeping the wand from rolling away off the counter when you set it down.  I get around this by balancing it in the sink (obviously without any water on!), so it’s not a big deal.  Overall, I highly recommend this curling wand!

The Irresistible Me Sapphire Curling Wand can be purchased directly from their site here.

Irresistible Me Sapphire Curling Wand beachy waves

looser waves achieved using the largest wand attachment

Natural Beachy Waves

For natural beachy waves, I like to use the “pearl” wand attachment.  That is the funny-looking one that resembles a string of pearls.  This wand gives curls of varying tightness/looseness within the same strand of hair, giving it a really natural look.DSC_0720copysm

1) Attach the pearl wand to the base of the Sapphire Wand.  Heat wand to desired temperature (I usually do 430).

2) Separate hair into three sections: top layer (left of head), top layer (right of head), and bottom layer.  Use duck bill clips to secure top layers.

3) Separate out a strand of hair closest to your face that is about 1 inch thick.  Use the wand to curl this strand away from your face.

4) For the next strand, curl it towards your face.  Alternate towards and away from your face for this whole section.

5) Repeat the process with the top layers, only starting the curl as high as your ear.

6) If desired, separate out the curls with your fingers.  Spray with hairspray, and you’re done!

These are my before and after photos.  Before (left): Air dried hair; After (right): Curled with the pearl attachment of the Irresistible Me Sapphire Curling Wand

Irresistible Me Sapphire Curling Wand Natural Beachy Waves

Again, you can grab a curling wand of your own right here!  Irresistible Me also carriers straighteners, hair extensions, and hair accessories!

Filed Under: health and beauty, reviews

  • « Previous Page
  • 1
  • …
  • 3
  • 4
  • 5
  • 6
  • 7
  • …
  • 12
  • Next Page »
  • Email
  • Facebook
  • Instagram
  • Pinterest
  • RSS
  • Twitter
About Us

This blog shares our family's story and our journey from newlyweds to a family of seven. We share milestones, we share struggles, we share sweet memories, and we share about our Savior. Keep reading...

FACEBOOK

NEWSLETTER

Subscribe to our super-fun weekly newsletter! Enjoy exclusive content & fun bonuses!

* indicates required

Archives

INSTAGRAM

PINTEREST

Visit Aliesha @ Feathers in Our Nest's profile on Pinterest.

Popular Posts

newborn sleep routine

10 Tips for Establishing a Newborn Sleep Routine

What I Buy at Aldi

What I Buy at Aldi {Real Food}

essential oil blends

Essential Oil Blends – What Works for What?

DIY Citronella Candles {Keep Mosquitoes at Bay!}

Dream Diaper Bag: Review of Lily Jade Shaylee

Baby Basics: Guide to the Products I Love

Perfect Cold Brew Coffee at Home! Easy DIY recipe using a French Press | Feathers in Our Nest

Perfect Cold Brew Iced Coffee

See Other Popular Posts...

About Feathers in Our Nest

At Feathers in Our Nest, you can expect to find delicious recipes, homemaking tips, practical advice for frugal living, resources for those who are in ministry, inspiring links, and cute photos and stories about our children. You can browse older posts by checking out the Tips & Tutorials Page or the Recipes Page. Thanks for visiting! Read More…

  • Email
  • Facebook
  • Instagram
  • Pinterest
  • Twitter

Recent Posts

Easter Family Devotions | Feathers in Our Nest
Gospel Centered Books for Older Kids | Feathers in Our Nest
Gospel Centered Family Devotionals | Feathers in Our Nest
Gospel Centered Story Bibles | Feathers in Our Nest
Gospel Centered Picture Books | Feathers in Our Nest

Popular Topics

baby baking whole grains birthdays books bread breakfasts Christmas cooking Cordelia crafts deals decorating desserts essential oils everyday fall family food friends frugal living giveaways health and beauty healthy eating holidays homemaking hospitality house Jude main dishes marriage menu monday milestones ministry parenting photography pregnancy projects recipes reviews she {hearts} it sponsored Tad travels Vera worth repeating

Copyright © 2025 · Foodie Pro Theme by Shay Bocks · Built on the Genesis Framework · Powered by WordPress

Sign up below to join the Feathers in Our Nest email list!
Every Friday, you'll get exclusive content: the latest posts, recipes, photos, & more!
Your information will never be shared or sold to a third party.