This post has also been posted on Baking Whole Grains, a site I write for which compensates me for sharing whole grain recipes. While I receive compensation, this does not influence my opinions. All photos and directions are my own.


The only word I can possibly use to describe this bread is: “WOW!” I bake all the time and I try all sorts of new recipes, but my husband swears that this is THE best bread he has ever tasted. I tend to agree!

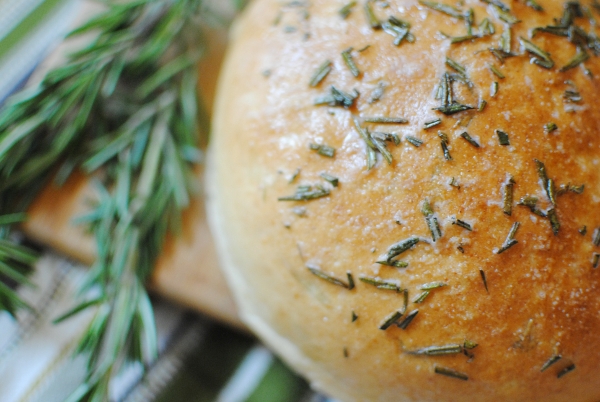
I’ve never eaten at Romano’s Macaroni Grill, but apparently this recipe is a dead ringer for their rosemary bread served with olive oil dipping sauce. I would serve this to company in a heartbeat, and I also am considering giving it away as Christmas gifts! Loaves of bread like this can cost upwards of $5 each at nice grocery stores, but it can be made at home for much less!

You can’t even tell that this bread contains part whole wheat flour. It is so light and airy and it squishes when you cut it with a knife. I think I may have dreamed about this bread last night! I’m just glad we still have some to eat with our lunch today!

Even if you aren’t much of a bread baker, you really have to try this recipe. If you have a stand mixer, it will do most of the work for you!

Let me know if you try it!
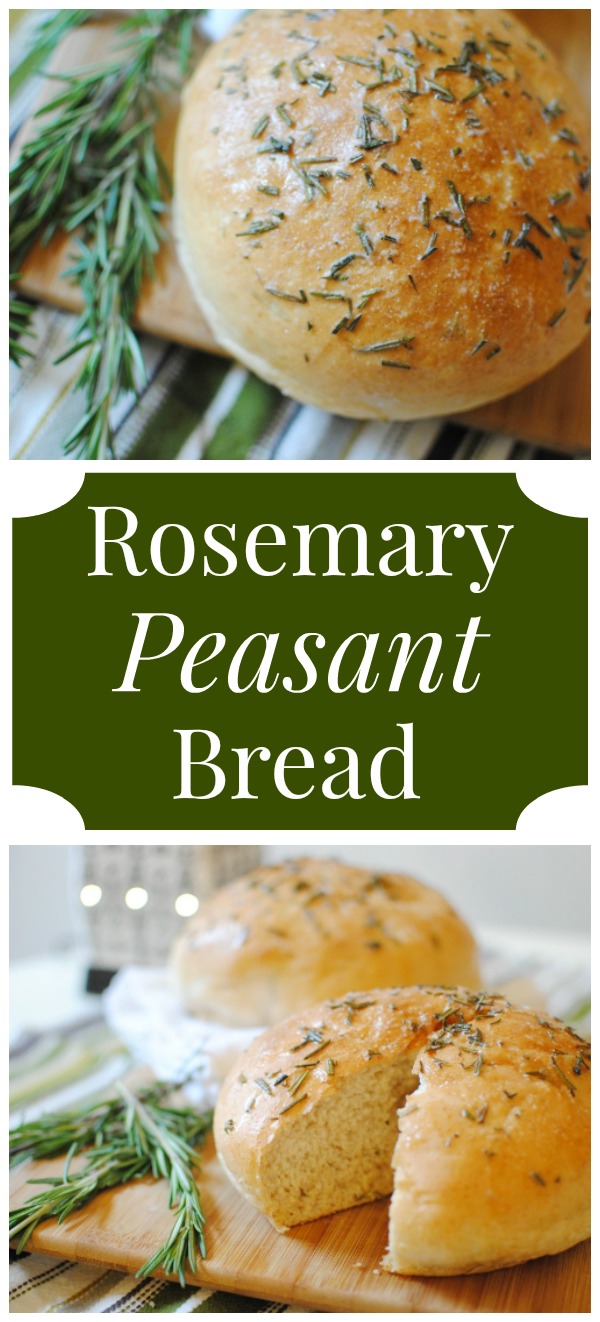
Rosemary Peasant Bread
(adapted from here)
Printable recipe after photo directions!

Grind wheat in the WonderMill.
In the bowl of a stand mixer, combine warm water, yeast, and evaporated cane juice. Allow it to sit for 5-10 minutes until foamy.

While it is resting, chop the fresh rosemary. Make sure to use just the leaves and discard the stems.


When the yeast mixture is bubbly, toss in kosher salt, 1 Tbsp. rosemary, 1 Tbsp. butter, and flours. Using your mixer’s dough hook, knead for 5 minutes (10 minutes if kneading by hand).
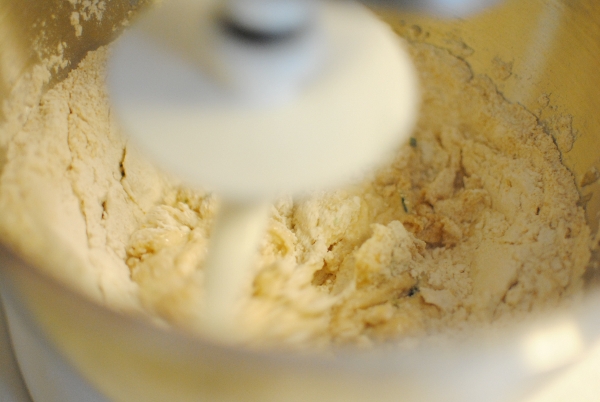
It will eventually come together and be smooth and elastic.

Coat a mixing bowl with olive oil. Place the dough in the bowl, and turn over once.

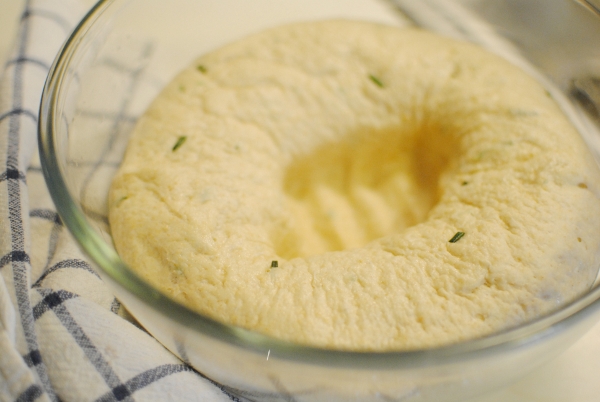
Cover, and allow to rise until doubled (about an hour).


After the rise, punch down the dough.
Coat a baking sheet with olive oil. Divide the dough into two equal balls and shape into round loaves. Place on the baking sheet.
Sprinkle loaves with additional 1 Tbsp. rosemary and press into the dough.

Allow loaves to rise again until doubled (45 minutes).

Preheat oven to 375 degrees.
Bake loaves for 15-20 minutes until golden brown. Remove to wire racks to cool.

While still hot, brush loaves with remaining 1 Tbsp. butter and sprinkle with sea salt. Be generous! This gives great flavor to the bread.

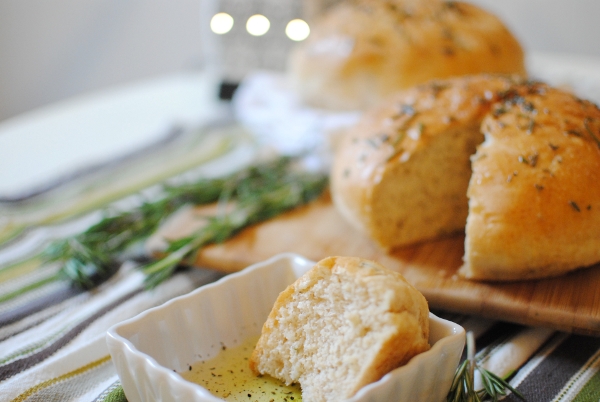
To prepare the dipping sauce, crack some black pepper into a small dish and pour in some good quality olive oil.

This bread is a wonderful appetizer or addition to a meal!


Makes 2 loaves.
- 1 cup warm water
- 1 Tbsp. yeast
- 2 tsp. evaporated cane juice (or sugar)
- 1 tsp. kosher salt
- 2 Tbsp. fresh rosemary, chopped (divided)
- 2 Tbsp. butter, melted (divided)
- 1 cup freshly ground whole wheat flour
- 1½ cups unbleached, all-purpose flour (you can make this with all whole wheat flour, but the resulting loaf is "heartier")
- olive oil
- sea salt
- additional olive oil and cracked black pepper for dipping sauce
- Grind wheat in the WonderMill.
- In the bowl of a stand mixer, combine warm water, yeast, and evaporated cane juice. Allow it to sit for 5-10 minutes until foamy.
- While it is resting, chop the fresh rosemary. Make sure to use just the leaves and discard the stems.
- When the yeast mixture is bubbly, toss in kosher salt, 1 Tbsp. rosemary, 1 Tbsp. butter, and flours. Using your mixer's dough hook, knead for 5 minutes (10 minutes if kneading by hand).
- It will eventually come together and be smooth and elastic.
- Coat a mixing bowl with olive oil. Place the dough in the bowl, and turn over once.
- Cover, and allow to rise until doubled (about an hour).
- After the rise, punch down the dough.
- Coat a baking sheet with olive oil. Divide the dough into two equal balls and shape into round loaves. Place on the baking sheet.
- Sprinkle loaves with additional 1 Tbsp. rosemary and press into the dough.
- Allow loaves to rise again until doubled (45 minutes).
- Preheat oven to 375 degrees.
- Bake loaves for 15-20 minutes until golden brown. Remove to wire racks to cool.
- While still hot, brush loaves with remaining 1 Tbsp. butter and sprinkle with sea salt. Be generous! This gives great flavor to the bread.
- To prepare the dipping sauce, crack some black pepper into a small dish and pour in some good quality olive oil.
Enjoy!

Like this recipe? Follow me so you never miss a new recipe post!
For more of our family’s favorite recipes, click here.
This post contains an affiliate link to the grain mill I use and love!